I have three resolutions for 2017. 1. To get healthier as a family, 2. To embrace minimalism and 3. To be more self sufficient. And part of being self sufficient (at least in my view) is to learn how to make and do things for myself. To me, there's pleasure in slowing down and learning to make things by hand, even the basic things that we've taken for granted in our busy lives... Like making bread!
I've gawked at The Baker Brothers' bread-making videos for ages and they make it look so easy, but where does a novice like me even begin? I thought I'd start by getting myself a bread maker. So a few months ago, I bought the Tesco BM1333 2L, which I got at a discount from Lazada, at around RM170. Here's what it looks like...

How do I like my bread maker and what kinds of breads have I made? Find out after the jump...
For someone like me, who's starting from scratch, there's definitely a learning curve to using a bread machine. It took me a while to figure out how the machine works, how to properly measure ingredients and follow recipes, as well as how to proof dough.
For someone like me, who's starting from scratch, there's definitely a learning curve to using a bread machine. It took me a while to figure out how the machine works, how to properly measure ingredients and follow recipes, as well as how to proof dough.
The first loaf I made in my bread maker was a total disaster... because I used self-raising flour. My second attempt wasn't so good either, because I followed the recipe from the booklet that came with the bread maker, and it wasn't quite right - the dough was too wet. So I decided instead to go on Pinterest and look for a basic white loaf recipe. And finally, I made something that resembled a loaf!
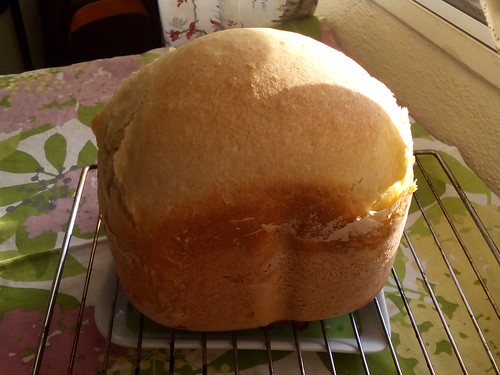
Ta-da! My first successful loaf. It's a little bigger than it was meant to be because I kept having to add flour - my dough was too wet :P
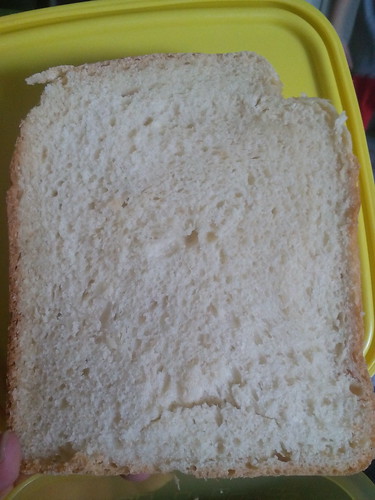
Here's a slice of my first homemade white bread.
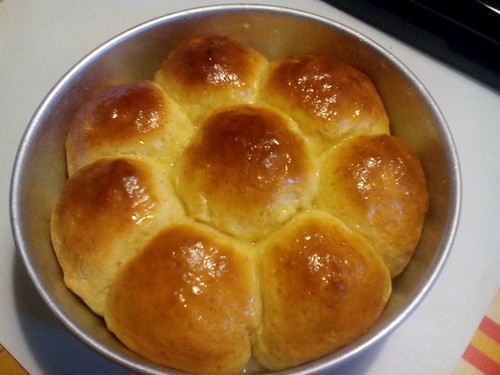
After successfully making a loaf, I turned my attention on making other kinds of bread. I found a nice, basic milk bun recipe on Pinterest and gave it a go. I used my bread maker to knead the dough for about 15 minutes, shaped them and arranged them in a baking tray, then baked them in the oven. My first buns didn't turn out too badly, but they weren't very fluffy.
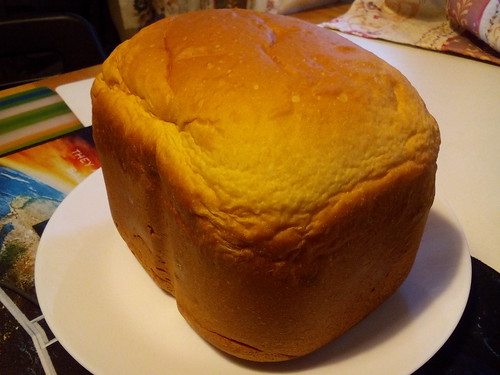
Then, I tried using the same milk bun recipe in the bread maker and the resulting milk loaf wasn't too bad!
Freshly-baked milk loaf!
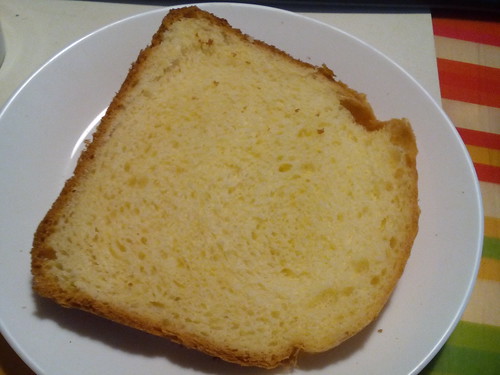
The bread is light and springy :)
Since the milk bun recipe was a success in the bread maker, I decided to experiment a bit, so I added some cinnamon and raisins to it the next time around.
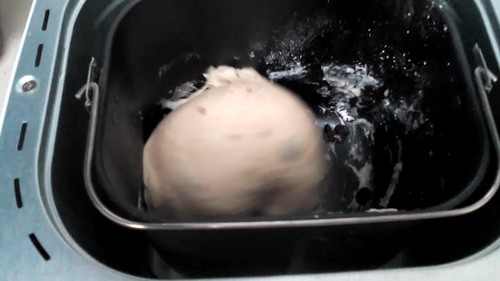
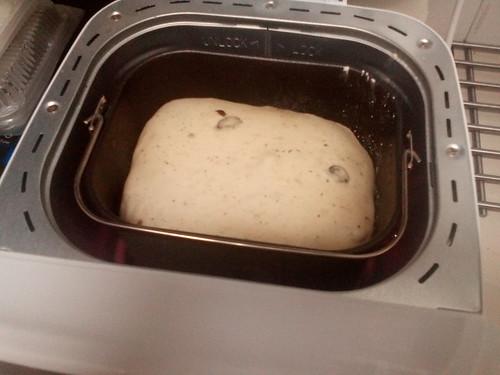
I love watching the dough get bashed around in my bread machine! Look at my cinnamon raisin bread dough go!
Here's the cinnamon raisin bread baking away. Smells heavenly!
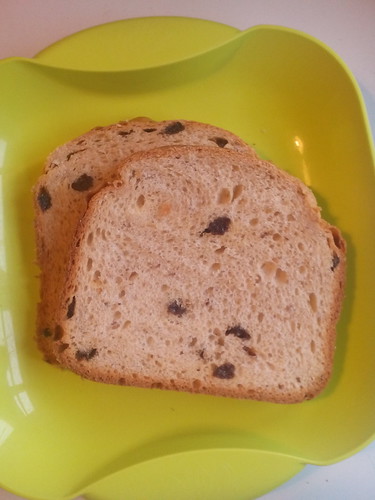
My cinnamon raisin loaf was pretty awesome :)
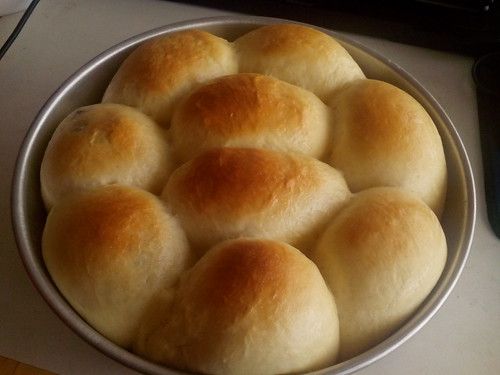
Check out my latest milk buns!!! Soft and fluffyyyyyy
Throughout my bread-making adventures so far, I've also learnt what NOT to do...
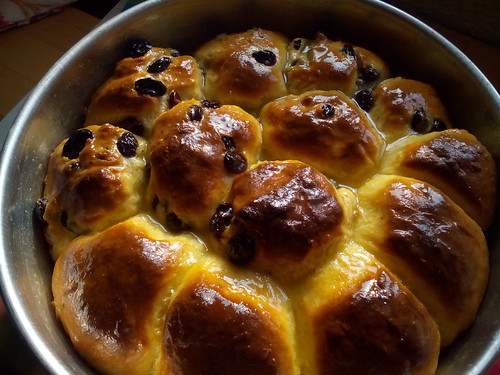
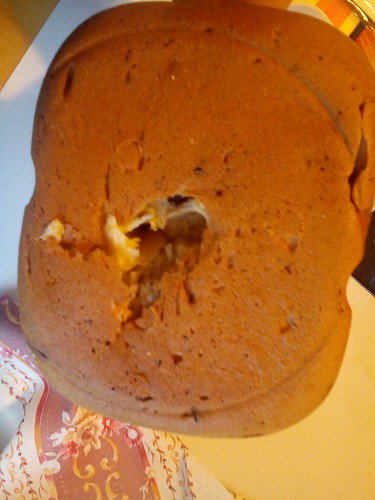
Don't put raisins in the milk bun recipe while the dough is mixing in the bread maker. It seems to interrupt the consistency of the gluten and makes the dough impossible to shape. The buns turn out really dense

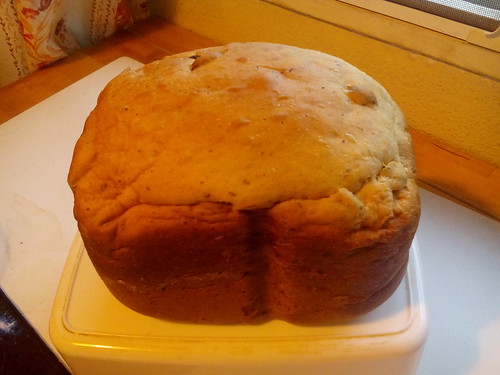

2 comments:
Could you share the recipe for making the big milk loaf? Many thanks in advance
Hi Sunbliss, Thanks for dropping by! Sure thing! I used this recipe ;)
https://www.chinasichuanfood.com/milk-bread/
Post a Comment