
Just look at this roast chicken... looks good doesn't it? I don't mean to toot my own horn, but I'm quite proud of this chicken LOL. I've finally mastered how to roast/bake a chicken in a pressure cooker! Yaay! Read on to find out how I did it and the recipe :)
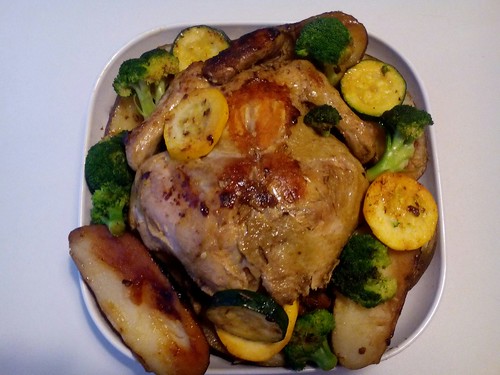
Roast chicken with potatoes and vegetables - yummy! Find out how to make it after the jump!
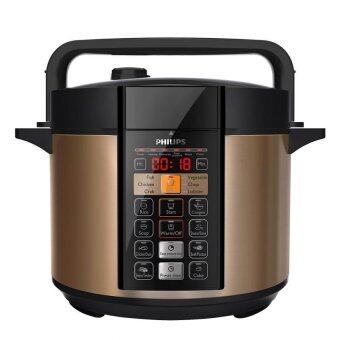
In my last post, I reviewed my new Trio air fryer, and today. I'll be reviewing another handy kitchen gadget - my Philips Pressure Cooker (PPC). When I first got it, I wasn't quite sure what to do with it. But a bit of Googling, YouTubing and Facebooking yielded some ideas.
I've successfully boiled pasta, beans and potatoes in my PPC, but what I really wanted to do was roast a chicken in it. Usually, using my tiny oven, it would take me about 2 hours to roast/bake a whole chicken. But the PPC promises to save me time, so I was eager to give it a go.
My first attempt at roasting a chicken in the PPC didn't turn out so well, the chicken was pale, with one side kind of burnt. I wanted to brown the chicken, so I transferred it to my oven, which turned out to be a big mistake. The meat became awfully dry.
However, I wasn't going to give up... so I did even more research, while my chicken was marinating overnight in the fridge.
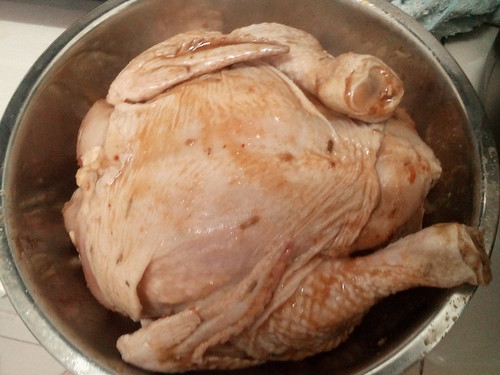
The marinade: Garlic powder, sweet soy sauce, salt, black pepper, dry rosemary and peri-peri sauce.
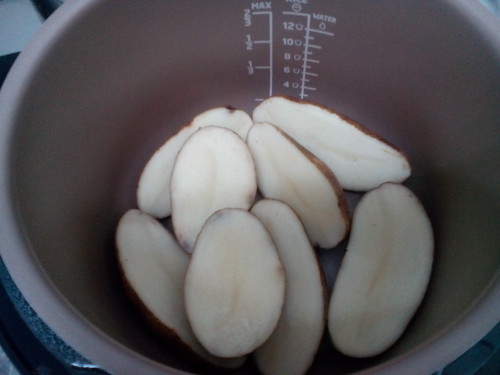
This time around, to prevent my chicken from burning, I lined the bottom of the pot with potatoes that I had cut in half (skin down).
Then, I sealed the valve and pressed "Chicken" and "Start," which takes about 18 minutes. After venting the steam, I opened the PPC and could see that the chicken was pale and liquid was collecting around the potatoes.
I then turned the valve to "Bake" and pressed the "Bake" button and selected "Chicken". This gave the chicken another 15 minutes or so to cook.
When I opened the PPC again, I could see that the chicken was fully cooked and the excess liquid has dried up, but the chicken was still pale (see below). It looks like it's steamed or uncooked doesn't it?
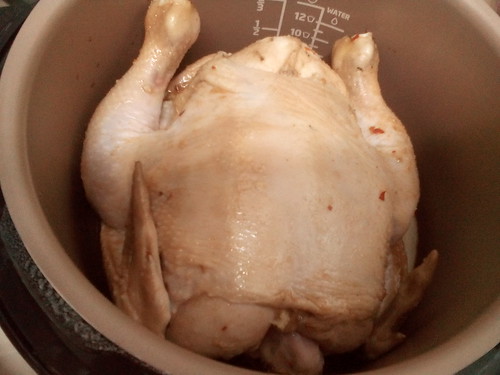
So here's what I did... I removed the chicken and potatoes. Then I put the chicken back into the PPC and turned the PPC on - I pressed "Chicken" and "Start." But this time, I left the lid off. I just let the chicken sit there and brown in the heat. Once one side had browned, I turned it.
It took me about 10 minutes to get both sides brown. And voila! My chicken was done! I placed my chicken onto my serving plate and put my broccoli and zucchini into the PPC. After a few minutes, they too were nice and brown, so I arranged them around my chicken. I also made my gravy in the PPC!
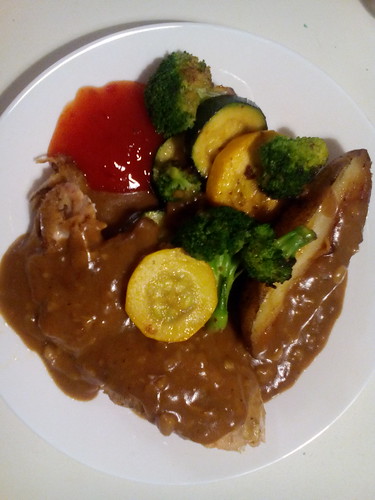
Voila! The chicken was tender and delicious, as were the potatoes, veges and gravy! My family and I loved the results :)
If you haven't used your pressure cooker to make roast chicken, please do! It'll save you a lot of time :)
PS: Next time, I think I'll try browning the chicken first, before I cook it.
PS: Next time, I think I'll try browning the chicken first, before I cook it.


No comments:
Post a Comment